


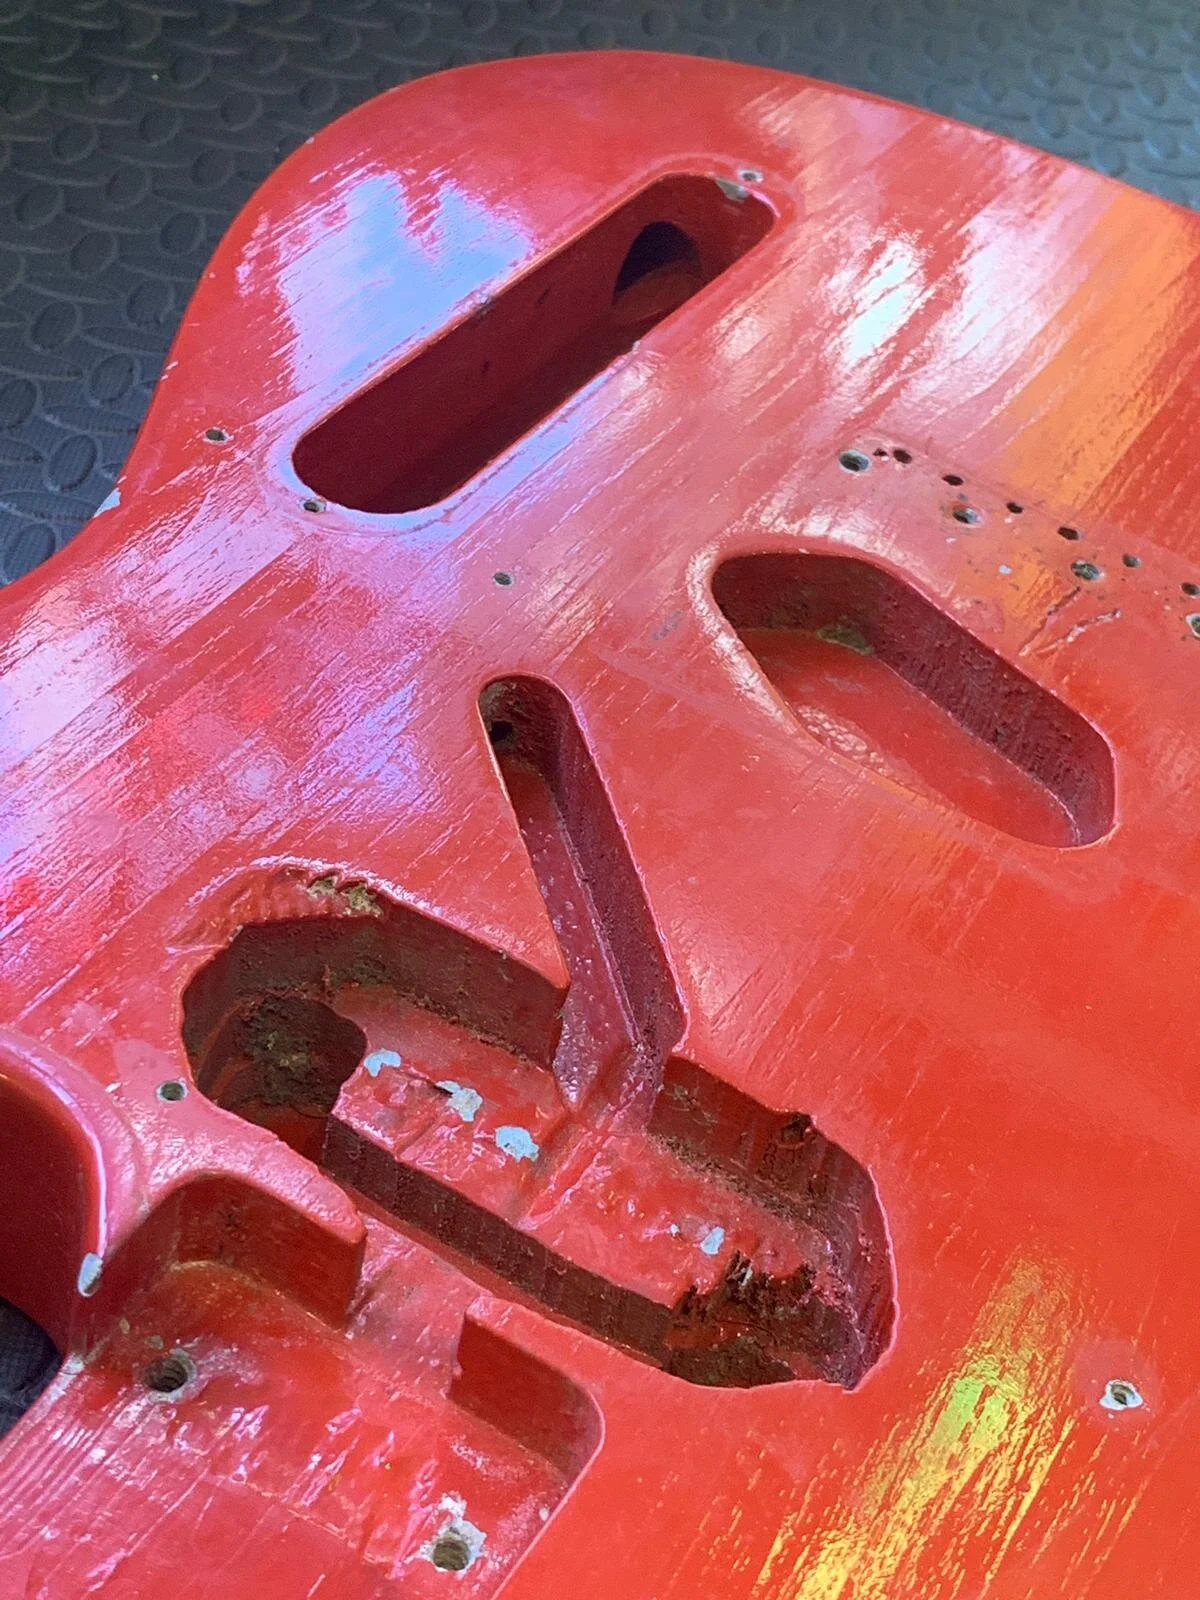
I don’t get a lot of time to post on a blog between running a shop in central London and getting as many repairs done as possible but I couldn’t miss the chance for this one. 1960s Fender Esquires are rare birds as the model had lost some of its position in Fender’s lineup by then. In 1954 you could have the one-pickup Esquire, the two-pickup Telecaster, and the brand new three-pickup Stratocaster, but ten years on there were the fancy Jazzmaster and Jaguar as well as other student offerings in the Musicmaster, Duo-sonic, and the recently introduced Mustang (a long time favourite of mine). The single-pickup Esquire struggled to find its place and as a result, sales were low up until its discontinuation in 1970. Now when this guy showed up in my workshop in a state I knew it had potential. Many of its original parts were missing but the neck felt nice and the wonderfully light (one piece!) ash body had a lovely grain to it. It had been very crudely ‘routed’ for a humbucker in the neck and needed a lot of work so I began by stripping it down to the bones.


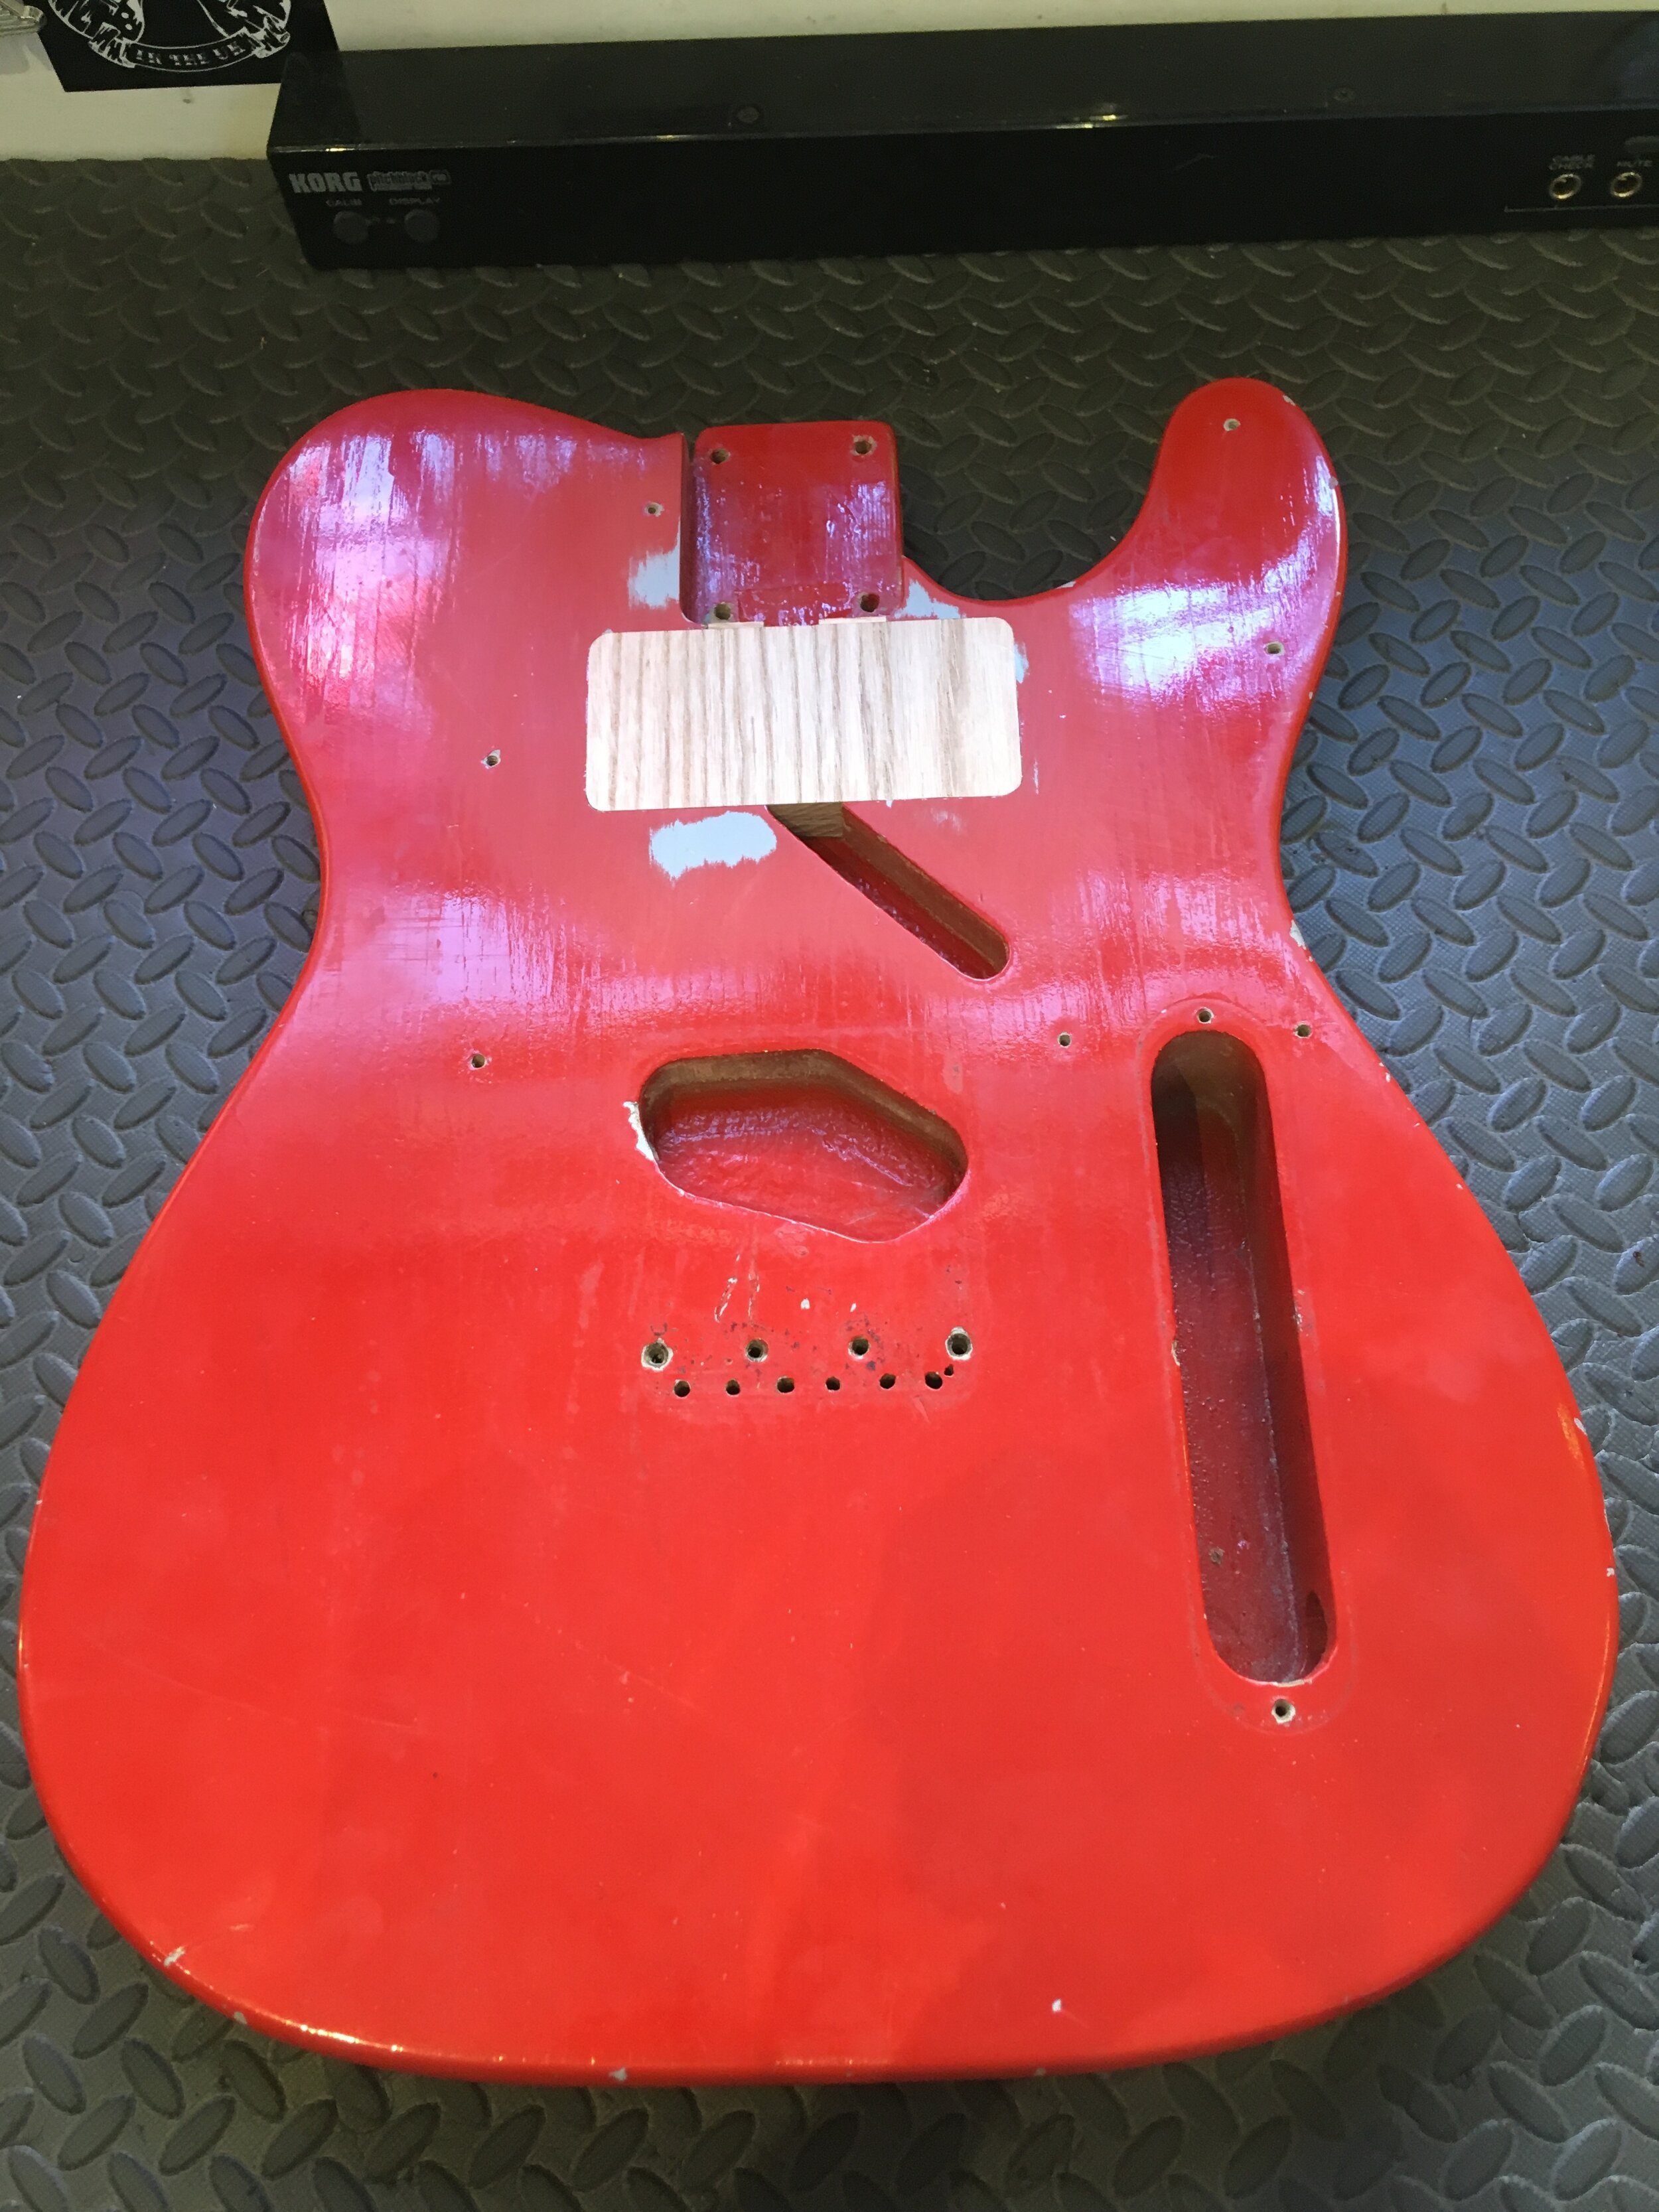
Although this guitar had some of its original parts, I won’t bore you with the hunt for many of the missing parts from 1964. So I got straight on to sorting out the ‘route’ that had occurred sometime in the late ’60s to facilitate the humbucker in the neck position. The damaged area was cleaned out and prepared for a new grain-matched piece of donor American ash that was slowly inserted and glued into place. After trimming it back level, it was slotted for a neck pickup that was never there, just like it would have been in ‘64.


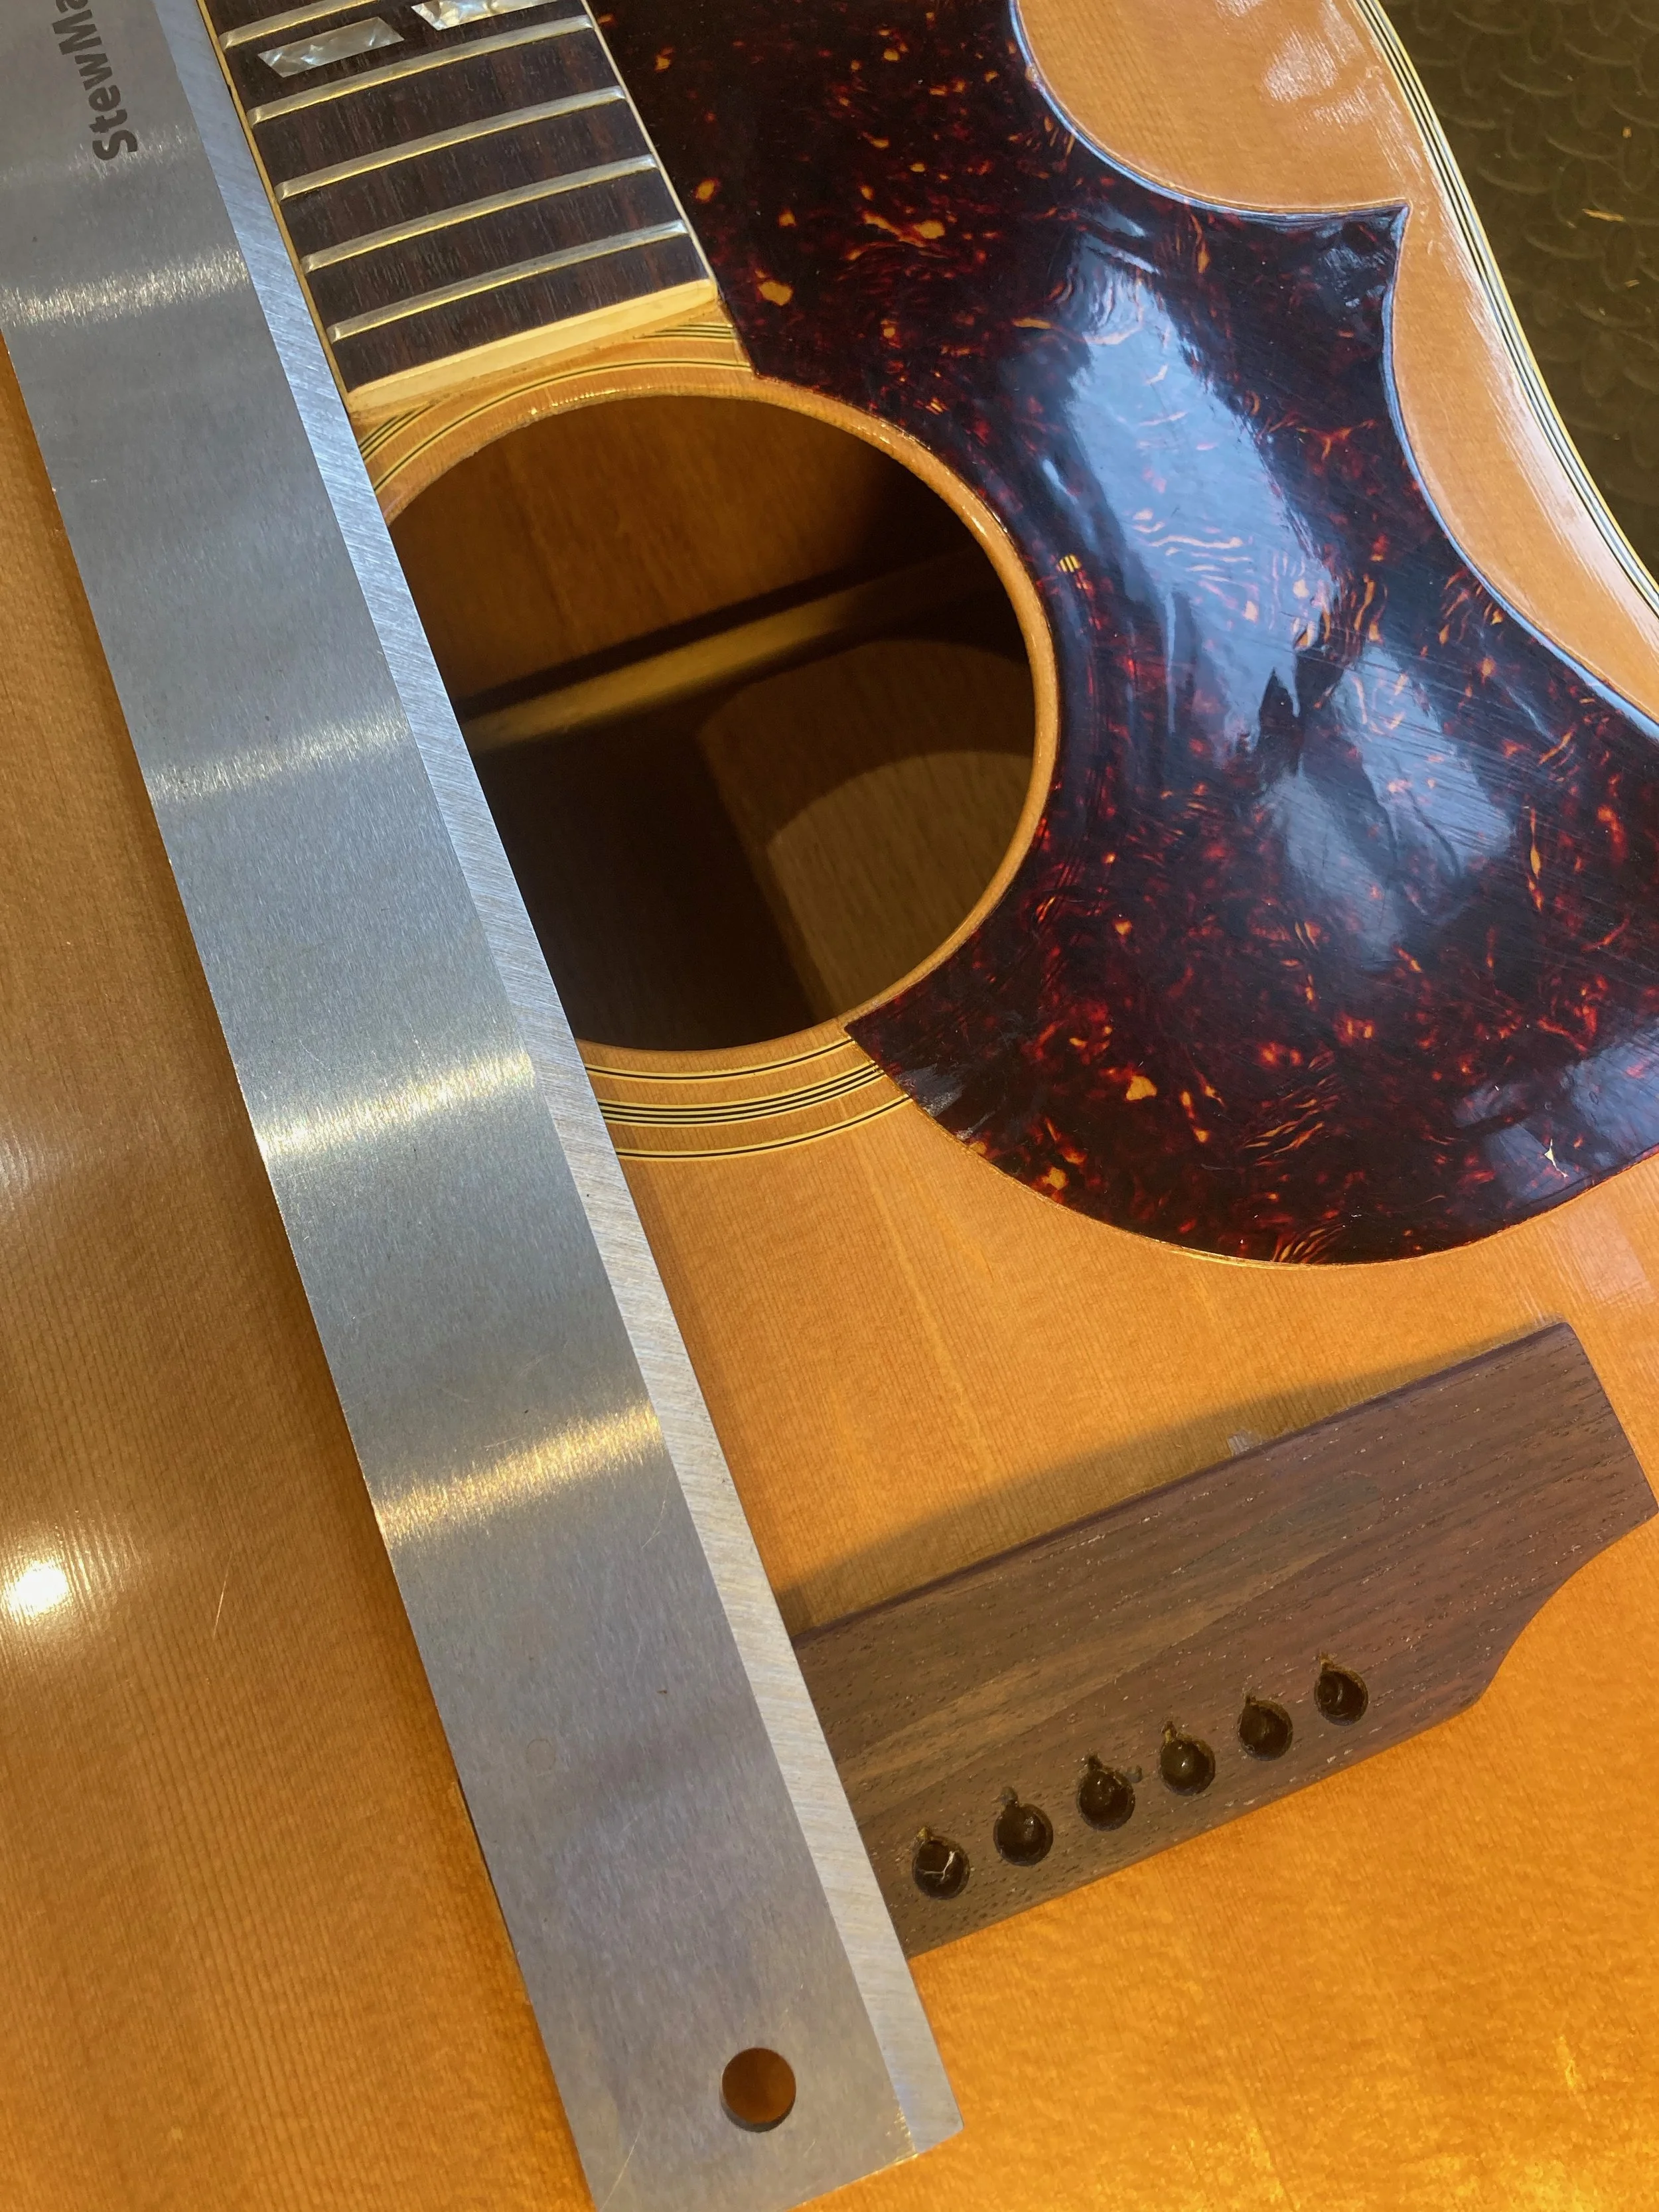
Next up was the restoration of the beautiful neck. It was certainly comfortable but with years of dirt and grime built up over it. The frets had essentially been worn off over the decades and would need replacing as well. the entire neck was cleaned slowly and carefully, one square inch at a time, before being re-fretted. It’s always a bit of a heart-stopping moment even gently cleaning around the original logo on these old guitars! As many of you will know the fretboards on Fenders by this point were generally a much thinner ‘veneer’ type of rosewood, leaving any potential restorer very little to work with if the board needs some wear or radius correcting and this one was just as difficult as you might expect. Not only was it thin, but the rosewood had also become very brittle over the decades meaning I had to work very slowly to remove the remains of the original frets.

One half of the headstock clean, the other half to go!
With the neck completed and the parts all sourced, it was now only waiting for the body to be returned. I had sent it out to the very talented Scott Cameron of SC Relics Guitars in Magherafelt, N. Ireland to help with the strip and re-finishing of the body. It came back looking absolutely fantastic, with just the right colouring and a little age that matched the wear of the neck perfectly!


Some little details followed, like chipping away at the old goopy red paint in the neck cavity before beginning to reassemble the guitar. Getting excited now and it’s really starting to take shape! Admission: there was a moment when I briefly considered having a neck pickup installed. I did have an original 1964 Telecaster neck pickup in the old parts bin, but the idea was dropped in the end as the coolest thing about this guitar is that it IS an Esquire ;) Plenty of Telecasters out there if you want one, so why not just stick with this the way it is!


One last detail that I wanted to address before fully re-assembling was the pickguard. Well-versed vintage guitar enthusiasts will know about the misalignment of the pickguard with the edge of the horn on many 1960s Fender Telecasters and Esquires. I’ve heard many reasons for this over the years from the bodies being cut from worn molds to simply a level of carelessness. No matter what you believe, these guitars were made by hand and this is just one of those things that lend to their charm! Basically, the pickguard doesn’t evenly follow the lines of the horn on the guitar and I made the decision to make a pickguard template that corrects that misalignment.


And with that, we’re off! I cut a thin single-ply ‘guard from some slightly older off-white material and began the final assembly and setup. I was incredibly pleased with the final result; it is lightweight, very resonant and full sounding, and looks absolutely brilliant. Work like this takes a long time and requires a lot of patience but I think you might agree that it really pays off in the end :) Click on any of the pictures to be taken to the gallery containing even more pictures of the process this guitar underwent to be restored to glory. Thanks for checking it out!

